How to use an extension
Customization is a key factor in any successful software product. Even more for an integration platform whose goal is to make heterogeneous external systems communicate between them.
Syndesis is a flexible integration platform and takes this aspect seriously providing an Extension mechanism by design. We also know that once the platform is up and running, it is desirable to have an easy way to install a customization with no need to involve IT in upgrade procedures.
In this blog post we will learn what exactly is an Extension and how to leverage it in order to provide the desired level of customization to our integration platform.
Extension types
We designed Syndesis to be able to plug certain customization capabilities during the product lifecycle. Let’s say you really need an integration to use your old Cobol application or that Java based price calculation engine that you’re so proud of. Extensions are there for you.
We can think an Extension as a way to develop your custom logic and let it be imported and recognized by Syndesis as part of itself.
Let’s identify the different kind of customizations you can use in Syndesis:
- Connectors
- Steps
- Libraries
Connectors
We know that a Connector is the way Syndesis uses to communicate with an external system (learn more).
Let’s return to that legacy Cobol application you need to use in your integration. You can create a software proxy as an Extension Connector type and use it normally as it would be any other bundled Connector provided originally by your platform.
Once you’ve imported your new Connector you will be able to use it normally in any integration with its expected actions and data shapes.
Steps
A Step is an action used by an integration to perform certain tasks with no need to connect from or to any data source.
Let’s think at the example mentioned earlier. You have a nice price calculation engine and you would like your integrations to use it. Let’s image the following scenario:
SQL Database >> Price Engine calculate >> MicroserviceThe middle Step is used to perform certain tasks on an input and likely provide a different output. Through development of an Extension Step you will be able to include your algorithm into Syndesis and use as a first class citizen in any of your integrations.
Another classic kind of Steps is represented by message transformation Enterprise Integration Patterns.
Libraries
A Library is the way we can use to include any dependency needed at runtime by an integration. Let’s stick with the price calculation example. We are using a Strategy pattern in order to pick the price engine based on certain runtime dependencies available or not.
Guess what!? we can use this particular Extension Library to be able to drive each integration with the proper runtime dependencies. On Integration A we will provide Library A and on Integration B we will provide Library B. The citizen integrator will provide such dependencies during the integration configuration, no need to hack the containers!
Actually this feature is under development and it will be available soon, so stay tuned and follow us on Twitter to be notified when it will be ready.
Step by step procedure
Now that we know what kind of customization we can provide to Syndesis, let’s make one! We will use the official documentation and reuse the same example provided there. It’s a simple Validation EIP Step used to raise an exception when we receive any message that does not follow certain rules.
Extension development
First of all we need to create a maven project structure. You can either clone the extensions project or use one of the available extension maven archetypes:
mvn archetype:generate -DarchetypeGroupId=io.syndesis.extension -DarchetypeArtifactId=extension-archetype-javaThe wizard will define the structure needed by the project. The full development is detailed in the Syndesis extension development documentation page.
UI import
The Extension developed in the previous section can be found under the target directory of the maven project. It’s a jar file and you can import into Syndesis by dragging and dropping that file in the Customizations >> Extensions >> Import section:
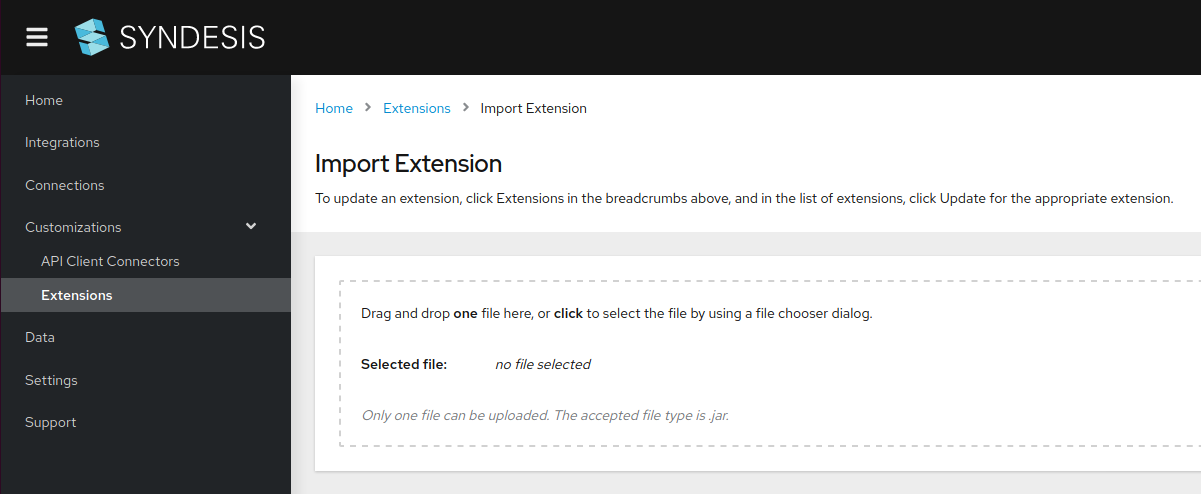
Figure 1. Extension import page
The platform will check the file and provide a detail screen you must review before importing the library
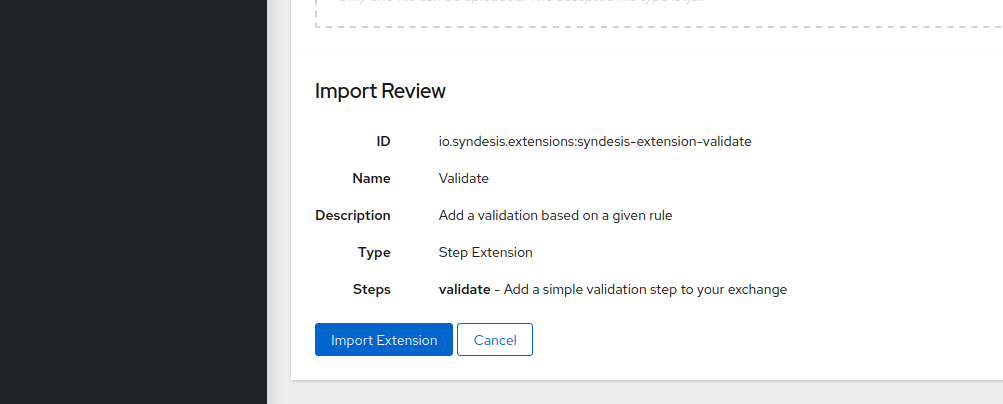
Figure 2. Review imported extension
The validation Step is now ready to be used!
Integration configuration
In order to see it in action we can create a simple Webtoken to Log integration and put a Validation Step just in the middle.
Let’s start with the Webtoken configuration:
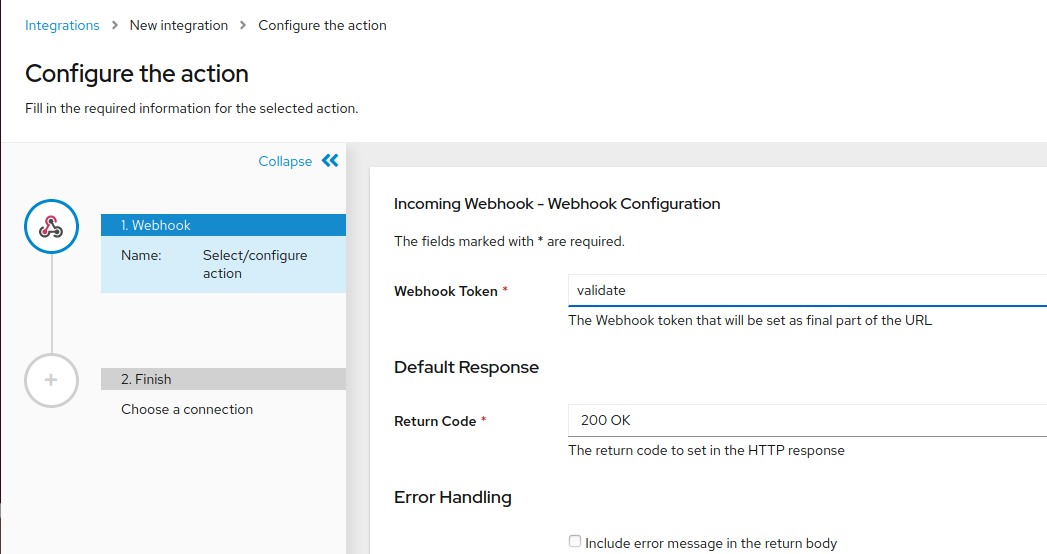
Figure 3. Webtoken configuration
And we finalize the integration with a simple Log:
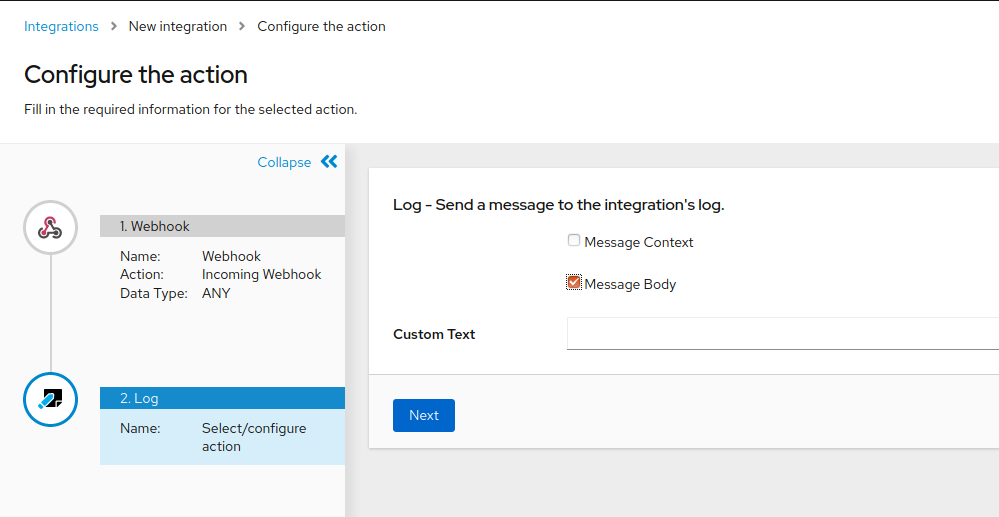
Figure 4. Log configuration
Now we add a Step just in the middle, our Validation:
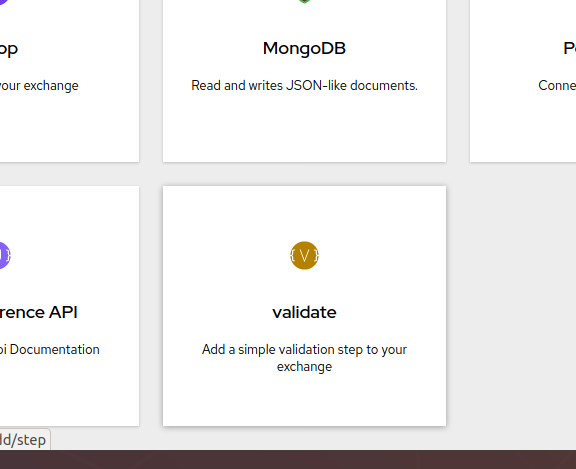
Figure 5. Validate step
Of course, we must configure the rule we want for the integration, in this case it’s a simple check on the text expected by the message body:
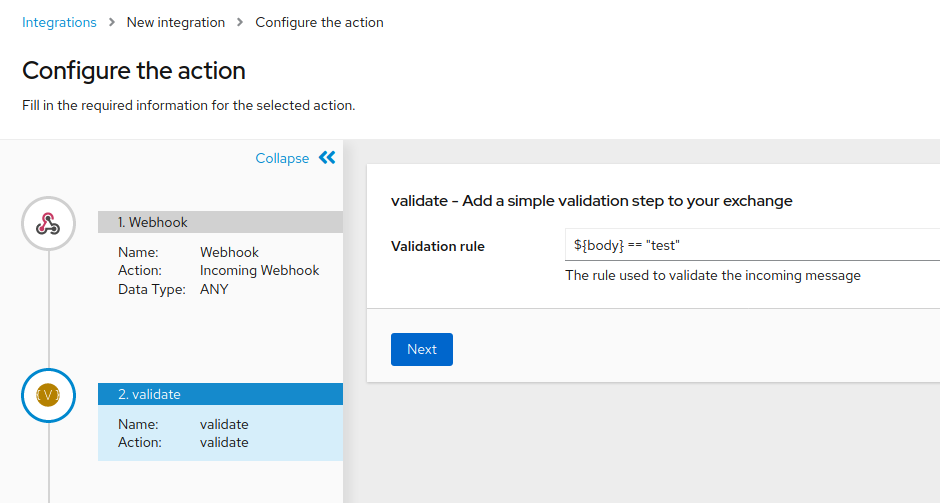
Figure 5.1. Validate rule configuration
Finally the integration will look like this:
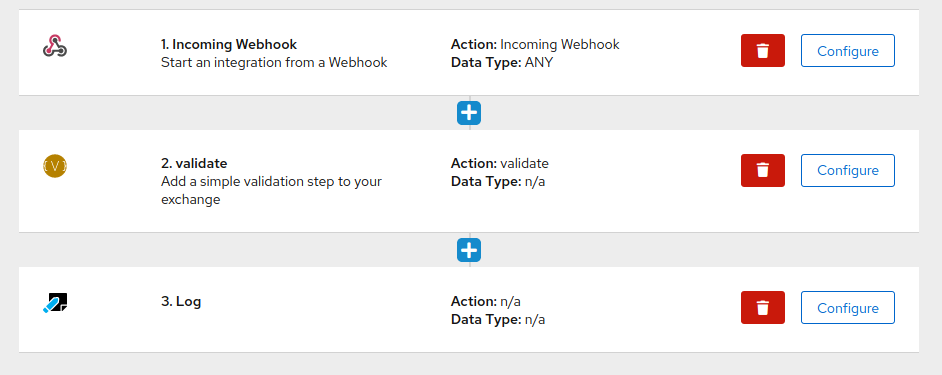
Figure 6. Integration resume
Example in action
Let’s now kick off our integration by making some calls to the webtoken. Let’s start with the text that must pass the validation:
printf "test" | http POST https://i-validate-myproject.192.168.42.139.nip.io/webhook/validate valid:false --verify=noThe result can be checked in the activity screen:
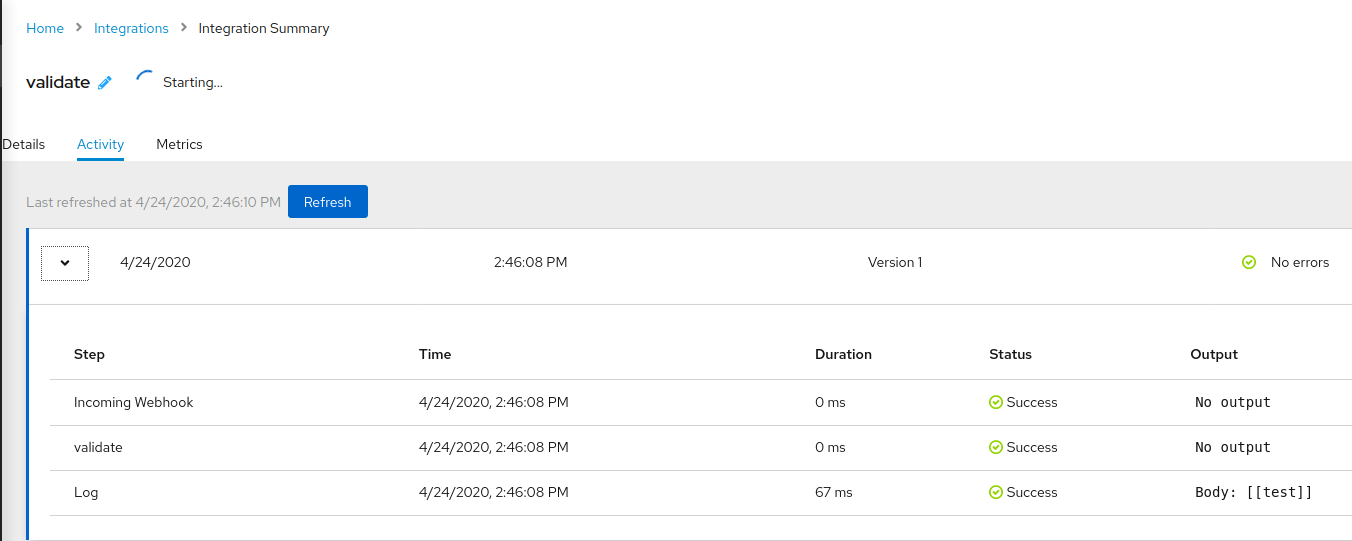
Figure 7. Message validated correctly
Now, let’s try a failure:
printf "failing test" | http POST https://i-validate-myproject.192.168.42.139.nip.io/webhook/validate valid:false --verify=noAnd we can see that it’s throwing an exception as we expected.
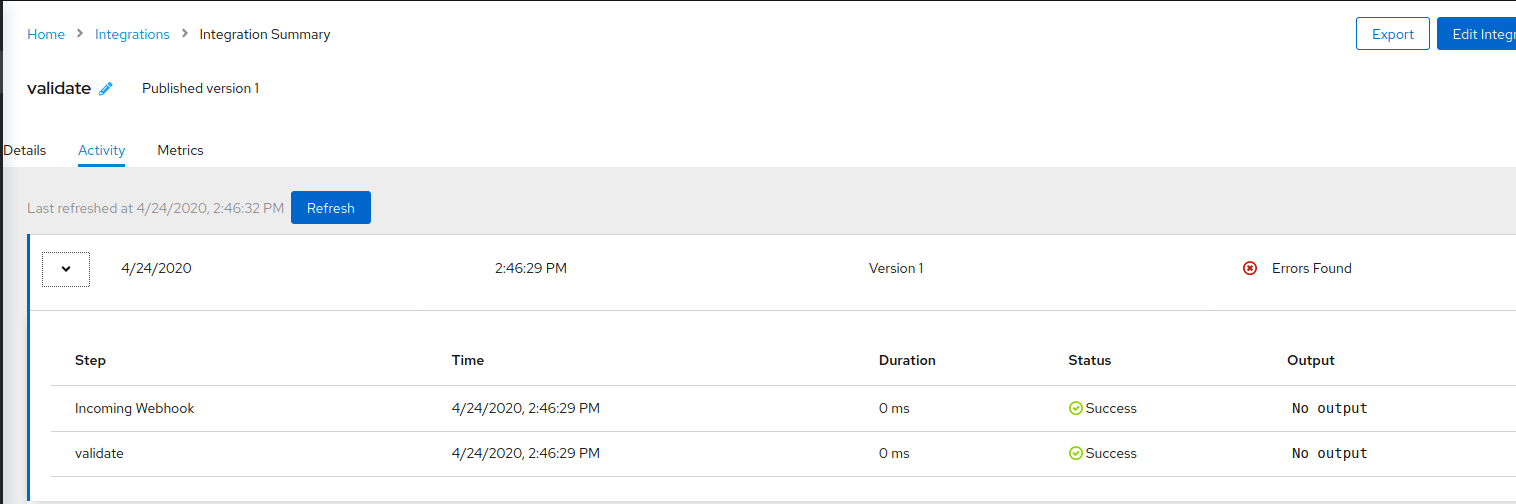
Figure 8. Message validation failed